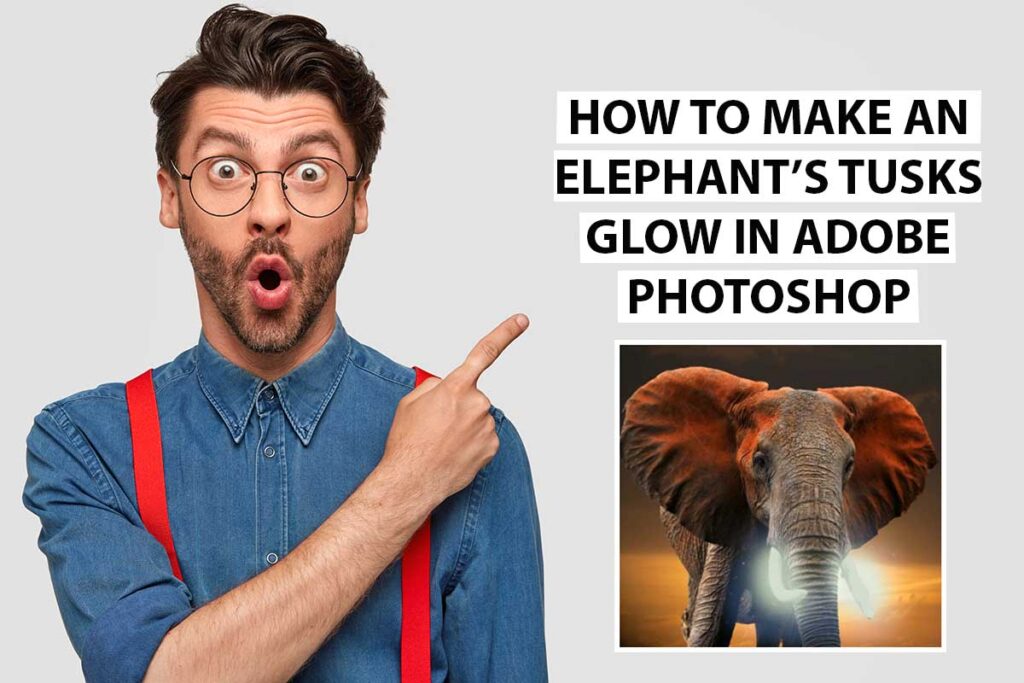
1.Select the quick selection tool on the left in adobe photoshop
2.Select the whole image of the elephant with the quick selection tool
3.Go to select and mask to smoothen the edges
4.Go to select onion skin on the right
5.Make sure the transparency is 50%
6.Go the refine edges brush on your right
7.Refine the edges in transparent mode
8.Now go to On Black A
9.Keep on refining the edges of the tusks
10.Change contrast to 9%
11.Go to Decontaminate colors
12.Output must be New Layer with Layer Mask
13.Now click on OK
14.Click on and off the eyes of both layers to show the differences
15.Select elephant tusks with quick selection tool
16.Click on CTLR and J to copy across tusks into new layer
17.Click on CTLR and G to Group layers. Layer 1 should be at the top
18. Select background layer on main image
19. Go to create new fill and adjustment ICON at the bottom of the screen
20. Select color look up
21. Go to 3DLUT File and Select Moonlight.3DL
22. Make sure color Lookup1 is selected
23.Go to the new fill or adjustment ICON and select Black and White
24.A Black and white layer will appear keep it selected. Change the capacity on this layer to 50%
25.Go to group 1
26.Go layer 1 and convert to smart object
27.Duplicate the smart object later CTRL J
28.Layer 1 copy should be selected
29. Go to drop down menu and select linear dodge Add
30.Notice the color of the tusks change
31.Now to filter at the top of the screen
32.Select Blur – Gaussian Blur
33.Change radius to 5 for softer edges
34 Duplicate the layer1 copy CTRL J. You should now have layer 1 copy 2
35.Go to Gaussian Blur and change radius to 100 and click ok
36. Make sure layer 1 copy 2 is selected click on CTRL and J to duplicate layer
to Gaussian blur and change radius from 100 to 250 and click ok
38.Duplicate layer 1 copy3 so now you have layer 1 copy. Change the radius from 250 to 500 and click ok
39.Click on group 1. Turn on and off all the layers should fall under group 1 apart from the main image and the black and white thumbnail
40. Make sure the group 1 folder is selected
41.Go to create new fill and adjustment and select hue and saturation
42. Click on create clipping mask
43. Hue and Saturation layers should be above group 1 folder.
44. Click on colorize and increase saturation to your preference.
45. Go to background copy layer
46. Click on curves and make sure the layer is selected
47. Click on create clipping mask
48. Pull the curve line to change the color and blend which you like
49. Close properties
50.Go to the left hand paint brush tool
51.select round brush and capacity should be 100% and flow 30%
52. Make sure foreground color is black
53.Brush the edges of the tusks
54. Go to the hue and saturation layer which is above group 1
55. Click and CTLR and J and duplicate layer
56.Drag down the hue and saturation layer so that it is the first layer under group 1
57. Select color on this layer and create clipping mask
58. Go to hue and saturation layer which is under Group 1 folder. CTRL +I (Invert the mask) the thumbnail should be black in color
59. Make sure the foreground color is white
60. Color the tusks white
61.Click on the move selection tool at the top left
62.Make sure the Hue and Saturation above group 1 is selected under group 1
63.Change capacity to 100%
64.Now select Hue and saturation above group 1
65. Go to the stars image in your local drive and drag it on to the elephant image
66.Go to drop down and select screen which will blend the image
67. Expand the stars image background across the elephant
68.Make sure the star layer is selected scroll down and add a mask
69. CTRL and I to invert the mask
70. Both thumbs should be black
71. Go to Brush tool on your left
72. Switch foreground color to white
73.Brush the tusks white
74. Increase filter to 72%
75. Notice stars appearing around the tusks
76. Make sure that the stars layer is selected
77. Go to new fill or adjustment and select levels
78. Click on clipping mask
79. Make sure level one layer is selected
80. Move cursors at the bottom of the levels left and right and adjust to suite your need.
81. Make sure level layer is highlighted
82.Go to color look up
83.Select crisp warm and change capacity to 40%
Watch these steps on my youtube video. How to make an elephant tusks glow in adobe photoshop
Leave a Reply